


Customizing your Adobe Connect Webinar/Events pages
August 21, 2018
Easily add custom messages to your Webinar/Events pages!
An Adobe Connect Event is a “meeting, seminar, presentation, course, curriculum, virtual classroom, or recording moved to Content Library wrapped with pre-event and post-event management features. Event management features include registration, reminders, and event-tracking surveys and reports.” Events are valuable for organizations by:
- Creating branded and customized event pages
- Utilizing automatically generated email messages
- Creating a lobby where participants meet and greet each other before the event begins
- Using PowerPoint presentations and leveraging video assets
- Incorporating polls
One of the great things about Adobe Connect Events is the publisher’s ability to customize messaging on the Event’s set-up pages. Recently, some of our CoSo Cloud customers have inquired about adding custom messages, disclaimers, hyperlinks, etc. to their set-up pages. In the following I’ll be walking you through how to easily add custom messaging to your Events pages by dragging and dropping ‘Text and Image’ boxes from your CQ5 dropdown (this will make more sense in the following steps!)..
Steps:
- First, you’ll want to open your Seminar/Webinar meeting through your proprietary Connect Central page.
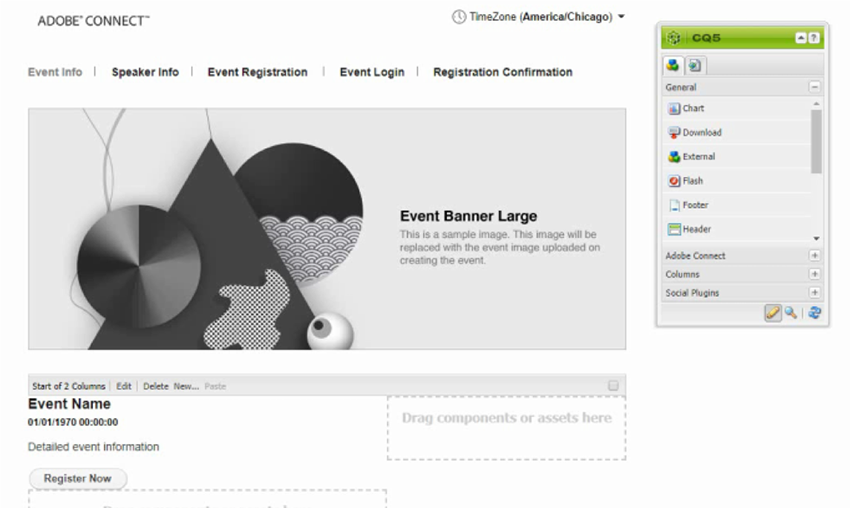
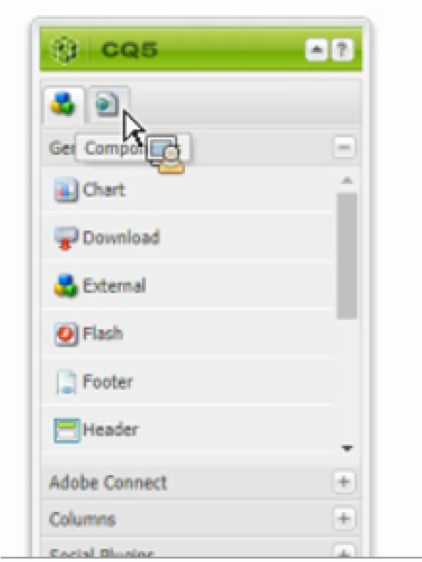
- Click ‘Edit’ and your CQ5 Editor will appear. This is the tool you’ll use to customize your meeting.
- From there go to your shared templates in the top left corner. Then click on ‘Create New Template.’ This will not make you start from scratch, rather it will build on the existing template. Also, keep in mind these are shared templates, so others will have the benefit of using the templates you create here as well! Tip: It’s important you click ‘create new template’ to avoid changing ALL templates.
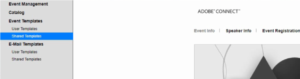

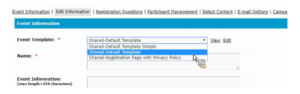
- Once you click ‘Create New Template’ you’ll have the option to name your new template and select either the ‘default template’ (includes a place for speaker information) or ‘default template simple’ (without a place for speaker information)
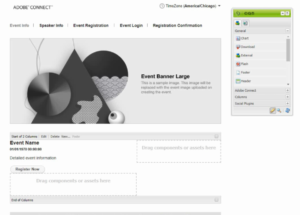
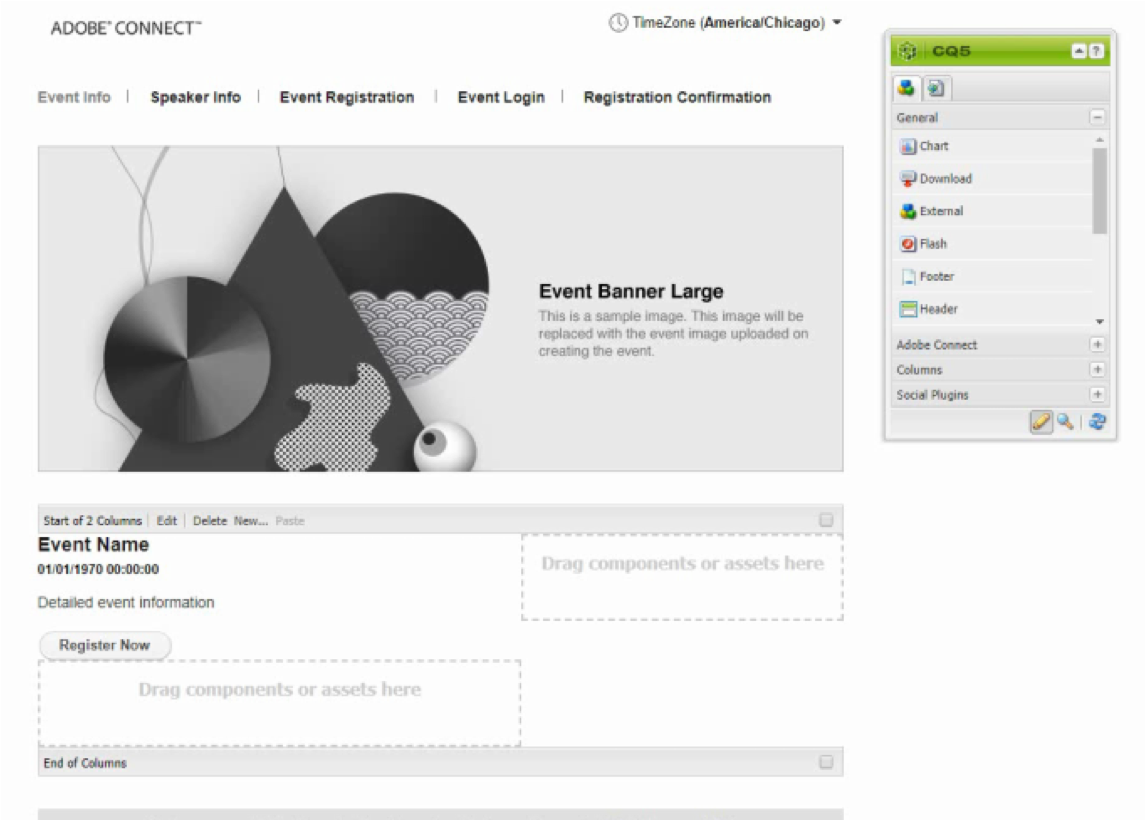
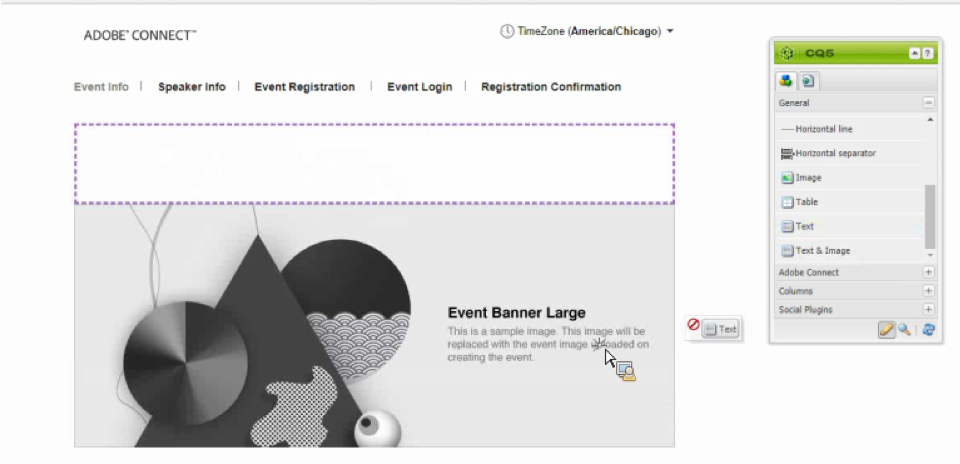
- Go to CQ5 box and select ‘Text and Image’…drag it onto your template and place where you wish it to appear (this is also where you would add other items like charts, headers, footers, etc.).

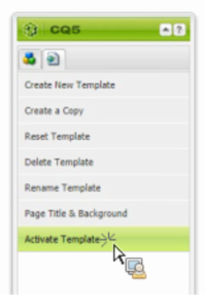
- Double click to add text, hyperlinks, disclaimers, instructive information for users, etc.. This newly added text box will have editing functionality like any other e-document or email. Once you have inserted your text, go back to the CQ5 box and click on the web page icon in the top right of the box and scroll down to ‘activate template.’

- Finally, go back to ‘edit information’ (you should still have the tab open in your browser) and refresh the page. Then select your new template from the drop down and click ‘save’ to save your updates.


You are finished! Please note that this process is the same for putting text on any of other pages such as the ‘Event Registration’ and ‘Speaker Info’ as well!

I hope these steps were clear and this information was helpful. If you have any questions about this process, please don’t hesitate to reach out to your Customer Success Manager any time!


