


Creating Multiple Versions of a Single Adobe Connect Recording
December 18, 2018
It’s that moment right after a great webinar or virtual training session where you realize you have a recording that is worth its weight in gold. Now if only I could have two or more versions of the recording. How great would it be to be able to have a short marketing version, a clip of each section of the recorded event and even a complete recording version all at the same time? And could they all be the standard recording format with all interactive content available to the viewer (no MP4 conversion and editing required)? And custom URLs for the recordings… what a thing it would be!
For most users of Connect this has remained a dream for many years. Over the years I have heard this request from customers and users in the Connect community. So, for all of those who have asked or thought about these questions, good news! There is an answer and it’s not a hard or technical as you might expect.
The first thing we need to do is to get the recording’s source files. By adding /output/AnyNameHere.zip?download=zip to the recording URL you can download the recording source files. Name the zip file what ever helps you keep track of what the recording is.
It’s worth noting that there isn’t much that can be done with the individual files, but the entire package is very useful to Connect. It’s also worth noting that this isn’t a way to move recordings between Connect accounts, as some objects in the recording will not show on a different account.
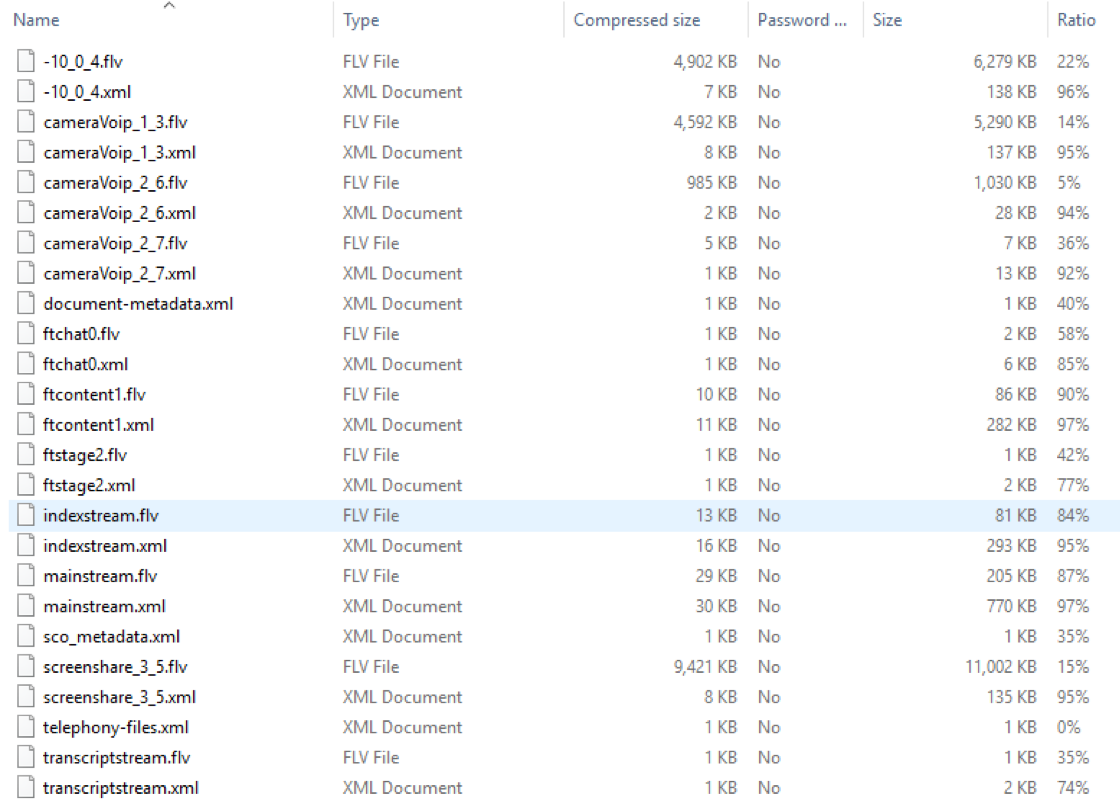
Example zip file contents
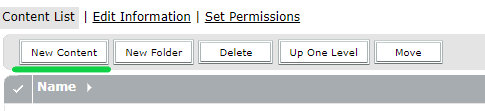
Now that we have the source files for the recording, the magic can begin. This zip file that was downloaded can be re-uploaded as a new Content object in Connect and Connect will recognize it as a meeting recording. The best part is, when you upload new Content to Connect, you can give it a custom URL. Browse to the Content library on your account and choose a folder to upload it to.
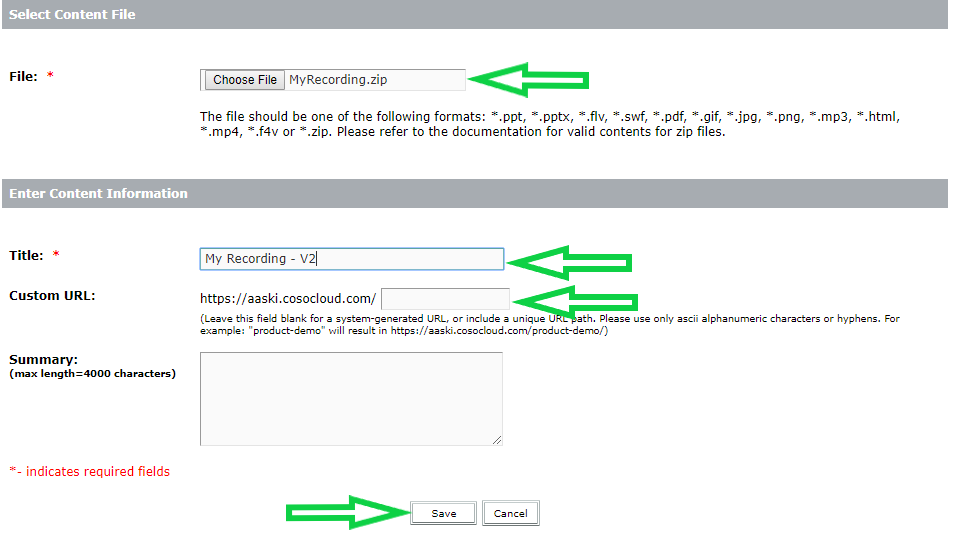
Go through the Add Content wizard and you will then have a new instance of that recording that you can edit and provide access to separate from the original recording.
Two instances of the recording not enough? Just keep uploading that zip file until you have the number of recordings you need.
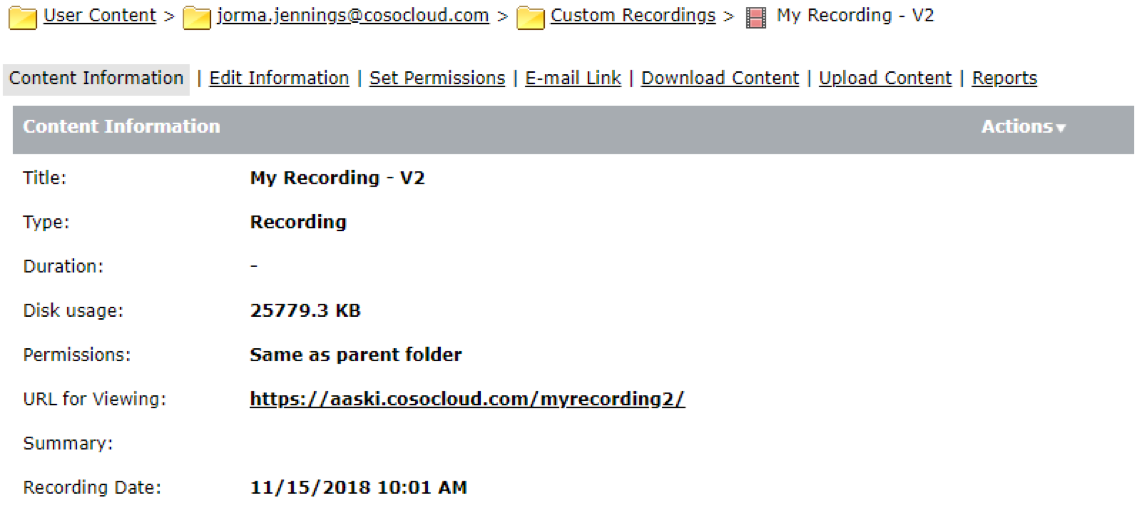
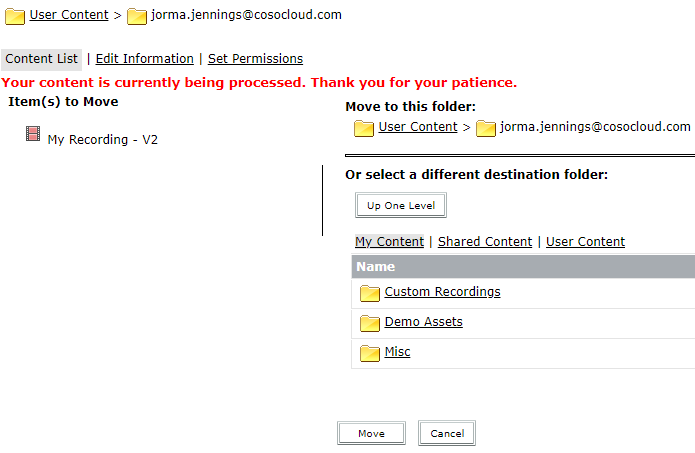
Now, if the recording was placed in the location it will always live in the Content library, you are good to go. However, if there is a need to move the uploaded recordings, you will likely see an error message stating Your content is currently being processed. Thank you for your patience.
This is because the uploaded recording didn’t update the database behind Connect with all the information it wants for recordings. I know this sounds dangerously close to getting very technical but stick with me. We can solve this with an API call.
Before we make that API call, we need a few things.
- It’s best to make API calls using login credentials that have Administrator rights. You may be able to make this even if you are not an Administrator of your account, but if it doesn’t work, talk with someone who is about doing this for you. You can have all the information they need and could just provide them with the link to use, making their life a little easier.
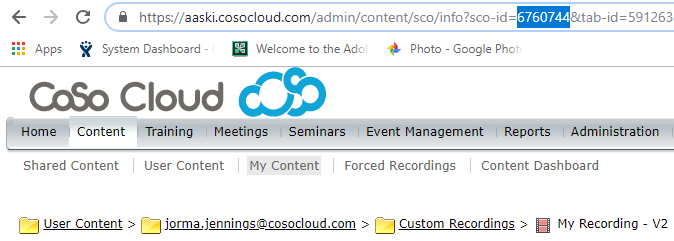
- The SCO-ID of the recording we just uploaded. This can be found in address bar of your web browser when you are looking at the recording in Connect Central.
- A date and time that is after the time of uploading the new recording instance.
With these items, you are ready to make the API call. Be sure you are already logged into Connect before putting this in your browser’s address bar. Here is what the URL will look like.
https://yourserverURL.com/api/xml?action=sco-update&sco-id=1234567&date-end=2099-01-31T12:00:00.000-07:00
The items in bold are the two fields you will need to modify before making this call. Unless you are reading this post after 2099, then you will need to change the date.
After you make the API call and get a response that looks like this:
<results>
<status code=”ok”/>
</results>
The issue should be resolved, and you can move the recording to any other folder in the Content library.
Have a question about Adobe Connect? Curious about what CoSo Cloud does? Don’t be shy! Contact us any time.


