


Leverage Meeting Layouts
December 11, 2019
Adobe Connect Meeting rooms are vibrant and dynamic. There are endless ways to use them, but sometimes we can find better ways to achieve having a more interesting and compelling virtual session without the dreaded downtime while searching and loading content as you present.
Throughout my time working with Connect, I’ve often seen the layouts functionality ignored completely or not leveraged to its full advantage. Most Connect rooms start with three layouts, but you can have as few as one or as many as you’d like. If you have more layout designs than what will fit on the screen, you can scroll through them using the scroll wheel on your mouse.
![]()
Layouts are unique to Adobe Connect, which allows you to take full advantage of the room’s persistence. You can pre-load any content needed for your session, so there is no downtime search for and load content as you present. So, let’s pull back the curtain and show some tricks to using Layouts!
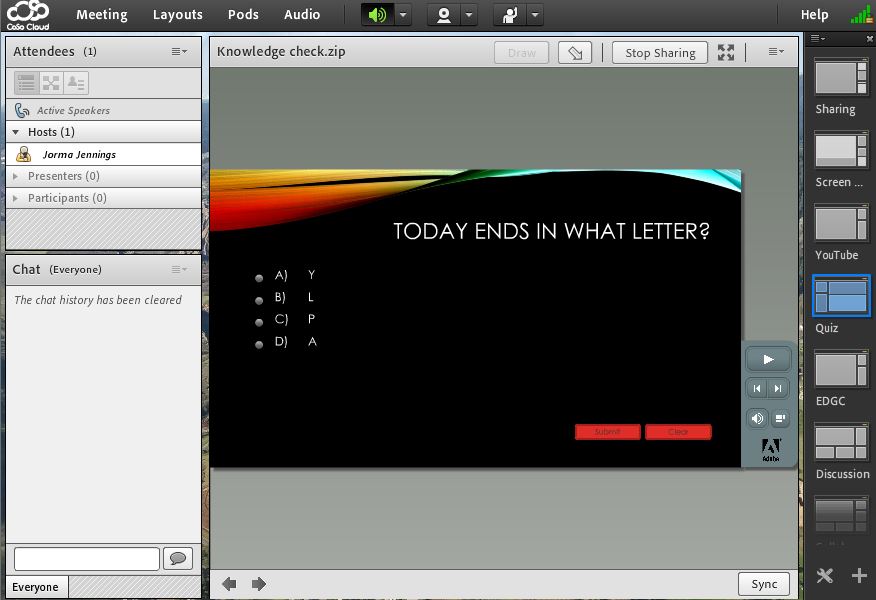
Adding Motion to your rooms can keep user interest and the room experience engaging. This can be achieved by leveraging multiple layouts. This tactic is used by many groups delivering virtual instructor-led training or one to many presentations. A fantastic example of this is Adobe’s onboarding training that is delivered weekly to hundreds of new Adobe employees. They use more than 100 (yes, one hundred) layouts for their 90 min session. The shift in layout doesn’t always mean that new content is displayed, instead, it’s small shift of focus for what is displayed. This keeps things visually fresh for attendees, so you keep their attention.
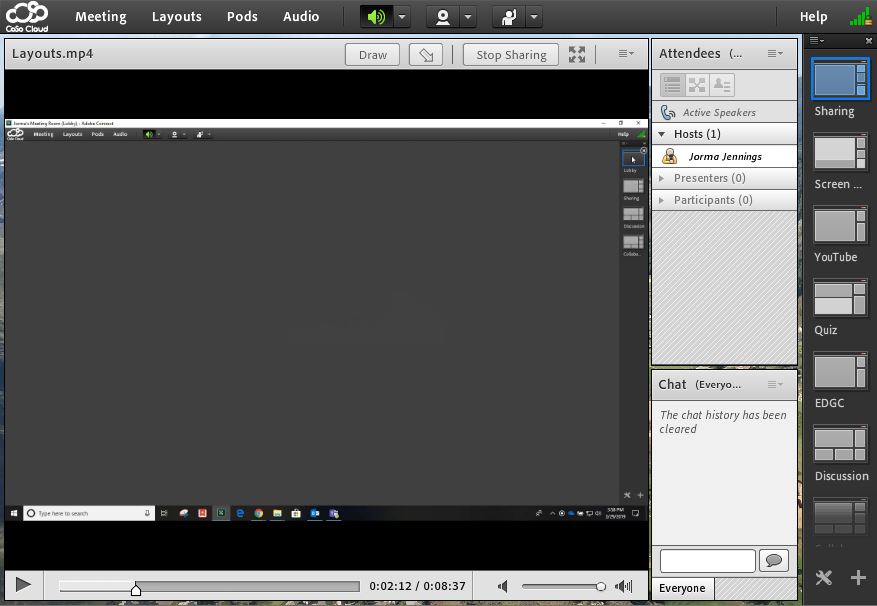
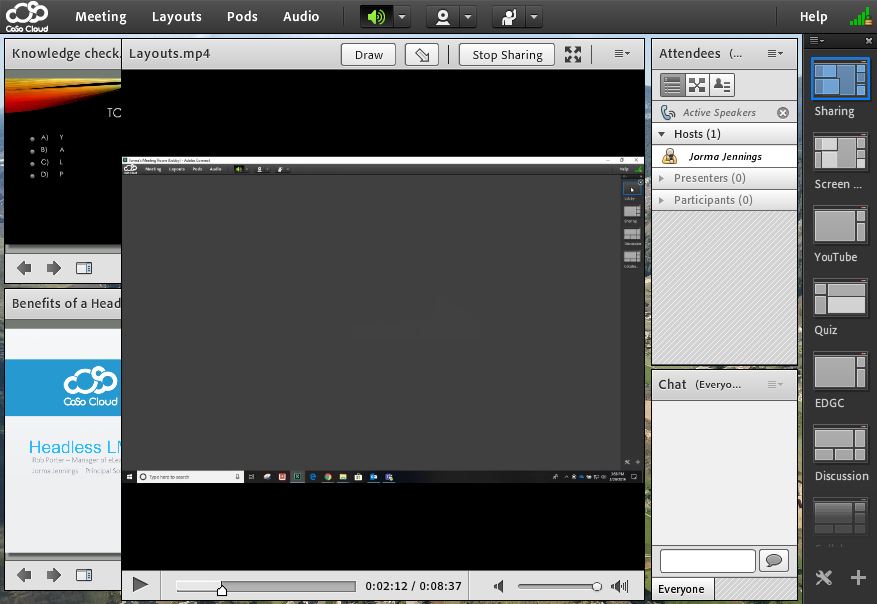
Another trick with layouts allows you to take advantage of what is usually called pod layering. Layering has multiple pods loaded but not seen by attendees to reduce load times when switching between content and screen shares. By leveraging this technique, you will load the same instances of pods on multiple layouts, just bringing the desired pods to the top layer. This is often used to transition between slides, images, and videos, but it can also be used to transition between a presentation and screen sharing.
Just so to be clear, let’s define a pod instance. A pod instance is a unique version of that pod type. This term is used to clarify using multiple versions of the same pod time. Most commonly, this is used for the Share pod, Notes pod, and Poll pod. When layering pods, there may be multiple presentations, images, videos used in the room. If we have 2 PPT presentations, an MP4 video, and three images in the room, then we would be using six instances of the Share pod.
When I layer pods, my approach is to place the non-used pod instances as smaller pods that discretely live behind the main pod instance. This allows the content to load, or remain loaded, in the room while the participants don’t see it. This can create a greater bandwidth demand on the initial launch of the room for the user, but once the content is loaded, there will be very little bandwidth demand as you move through the different layouts.


With the flexibility of Adobe Connect, the sky is the limit on workflows and configurations of your room. These two examples are great starting points of how to make your Adobe Connect use stand out and remain highly engaging.


